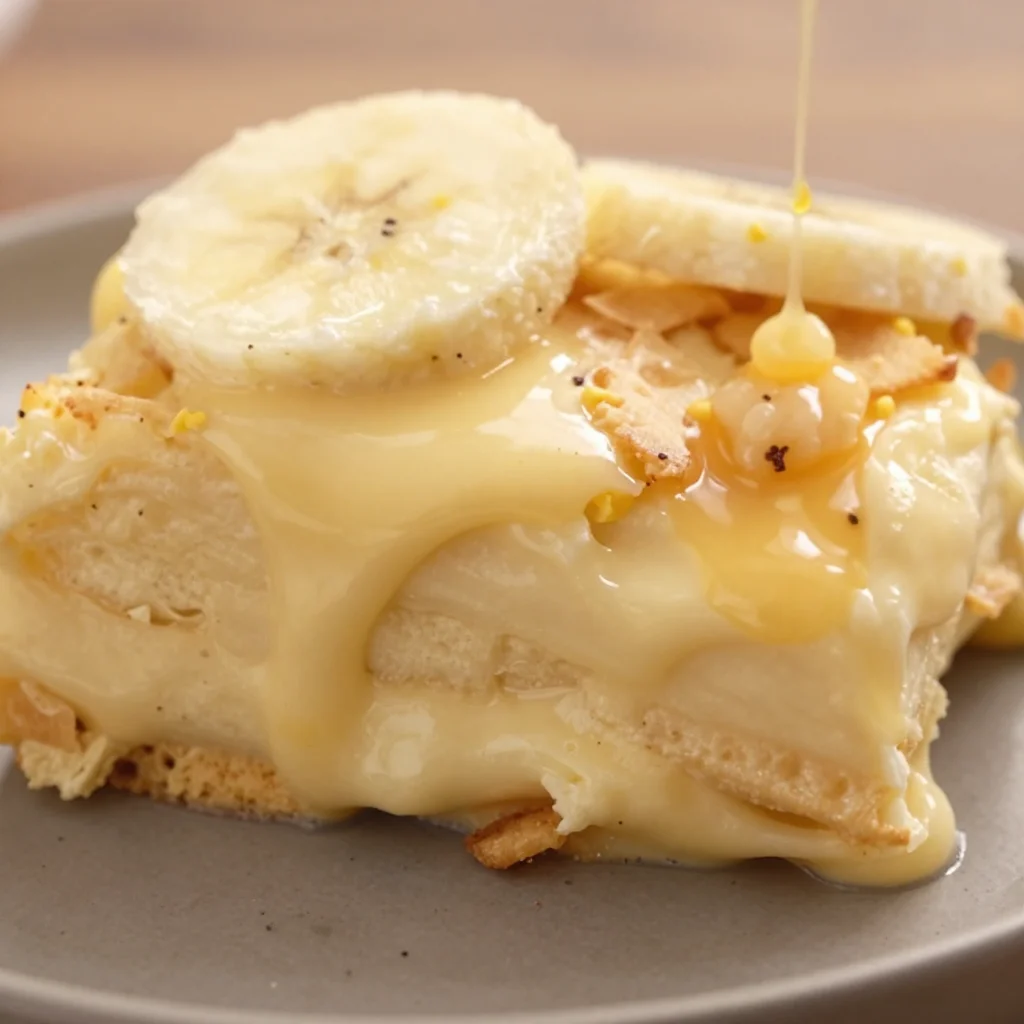
Beginner-Friendly Creamy Old-Fashioned Banana Pudding
Old-Fashioned Homemade Banana Pudding: A Retro Treat Worth Making
Hey there, fellow food lovers! Today, let’s dive into a delightful dessert that brings back all the warm, fuzzy feelings of childhood—Old-Fashioned Homemade Banana Pudding. This luscious treat is creamy, dreamy, and perfect for satisfying that sweet tooth. It’s one of those nostalgic dishes that can transport you back to simpler times with every spoonful.
A Sweet Memory
Growing up, my grandmother used to whip up her famous banana pudding every summer. It was a staple at our family gatherings, and I remember the excitement of watching her as she expertly layered the bananas, creamy filling, and vanilla wafers in a big, beautiful glass bowl. We would all gather around the table, eagerly awaiting our turn for a generous scoop. The rich aroma of vanilla and ripe bananas filled the air, making it utterly irresistible!
One particular summer, I decided to step into the kitchen myself and help her make this beloved dessert. I remember the delight on her face as she handed over the whisk and encouraged me to mix the custard, reminding me that cooking is all about love and patience. It was moments like these that sparked my passion for cooking and inspired me to create my own food memories to share with others! So grab your apron, and let’s recreate that banana pudding magic together!
Ingredients
Here’s what you’ll need to create this classic dessert:
-
3 ripe bananas: These should be perfectly spotty—ripe enough for sweetness but not overly mushy. If you don’t have bananas, yellow plantains make a great alternative!
-
1 box vanilla wafers (about 12 oz): These give the pudding its signature crunch. If you’re feeling adventurous, gluten-free cookie crumbles can be a fun substitute!
-
2 cups milk: Whole milk is preferred for that rich, creamy texture, but almond or oat milk can work in a pinch if you’re looking for a dairy-free option.
-
1/2 cup sugar: Regular granulated sugar is what you want here, but coconut sugar can add a unique flavor twist.
-
1/3 cup cornstarch: This is key for thickening the pudding. Can’t find any? You could use arrowroot powder instead!
-
1/4 teaspoon salt: Just a pinch to balance the sweetness. A sprinkle of sea salt can elevate the flavors beautifully.
-
3 large egg yolks: These add richness and depth to your pudding. If you’re vegan, you can experiment with chia seeds to create a similar custard effect!
-
1 teaspoon vanilla extract: Always go for pure vanilla extract for the best flavor, but feel free to experiment with almond extract for a delightful twist.
-
1 tablespoon butter: This rounds out the pudding for a silky finish. If you’re dairy-free, coconut oil can be an excellent substitute.
Step-by-Step Instructions
Now that we have our ingredients, let’s get cooking!
Step 1: Prepare Your Bananas
Start by slicing your bananas into even, 1/4-inch rounds. Aim for a consistent thickness so they layer nicely in the pudding. As you slice, feel free to sneak a slice or two—definitely necessary for quality control!
Step 2: Make the Pudding Base
In a medium saucepan, whisk together the sugar, cornstarch, and salt over medium heat. This will create a nice dry mix before we add the wet ingredients. Make sure there are no lumps—lumps are the enemy of a silky pudding!
Step 3: Whisk in the Milk
Gradually whisk in the milk, stirring constantly to combine everything smoothly. Keep the heat on medium and continue to stir until the mixture starts to thicken and bubble. This is where the magic happens!
Step 4: Temper the Egg Yolks
In a separate bowl, whisk the egg yolks. To prevent them from scrambling, you’ll need to temper them. Slowly pour a ladleful of the hot pudding mixture into the yolks while whisking continuously, then pour the yolk mixture back into the saucepan. This step is crucial for a creamy texture—trust me on this one!
Step 5: Thicken to Perfection
Let the pudding simmer on low heat, stirring frequently until it reaches a custard-like consistency (around 2-3 minutes). You’ll know it’s ready when it nicely coats the back of a spoon.
Step 6: Add the Butter and Vanilla
Once thickened, remove the saucepan from the heat. Stir in the butter and vanilla extract. This will add a beautiful shine and bring everything together harmoniously—so good!
Step 7: Layer the Pudding
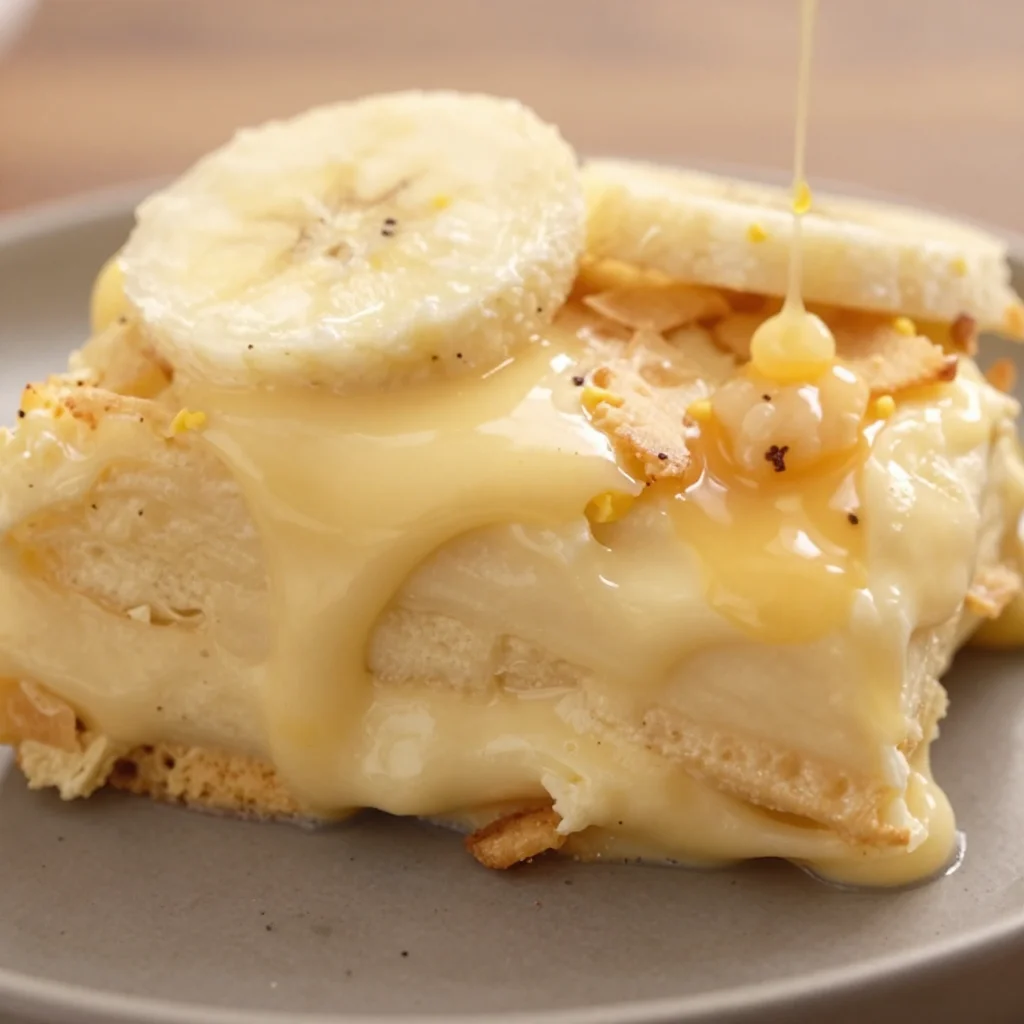
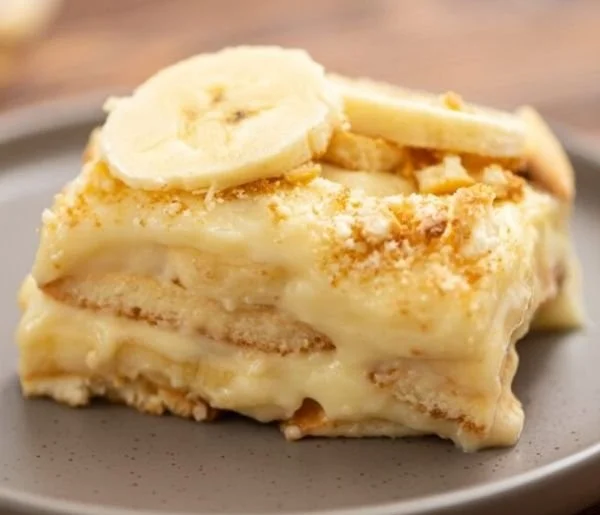
In a large glass bowl or individual serving cups, begin layering your ingredients. Start with a generous layer of vanilla wafers, then add a layer of banana slices, and finally, pour over a layer of the creamy pudding. Repeat until everything is used up, finishing with an elegant layer of pudding on top.
Step 8: Chill Out
Cover your bowl or cups with plastic wrap and pop the banana pudding into the fridge for at least 4 hours, or overnight if you can wait that long (it’s worth it!). This chilling time allows the flavors to meld and the vanilla wafers to soften beautifully.
Serving Suggestions
When you’re ready to serve, consider garnishing with a sprinkle of crushed vanilla wafers or a few fresh banana slices on top. A dollop of whipped cream could also take it to new heights. Serve it in pretty glass cups or bowls—presentation is key, and your friends will be more inclined to dig in when they see that beautiful layering!
Recipe Variations
Now let’s shake things up a bit! Here are some creative twists on this classic dessert:
-
Chocolate Banana Pudding: Add cocoa powder to the pudding base (about 1/4 cup) for a chocolatey version. Delicious!
-
Peanut Butter Banana Pudding: Stir in 1/4 cup of creamy peanut butter with the vanilla for a nutty, rich flavor—perfect for PB fans!
-
Tropical Treat: Use crushed pineapple instead of some banana slices or even a coconut-flavored pudding to take this to a whole new island level.
-
Nuts About it: Add chopped nuts like pecans or walnuts for a crunchy surprise with each bite.
-
Berry Delight: Swap some banana layers with fresh strawberries or blueberries for a burst of color and flavor!
Chef’s Notes
I just love how versatile this recipe is. Over the years, I’ve added my own twists like incorporating a little lemon zest for brightness or mixing in seasonal fruits. Each time, it feels like a new dessert adventure! And let me tell you, many an afternoon has been spent perfecting this recipe and standing by the fridge debating if I should have a second helping (spoiler alert: I always do!).
Now, don’t be afraid to make this pudding your own. The only rule is to have fun and enjoy getting messy in the kitchen! Plus, trust me on this—your family and friends will thank you for creating this delightful treat that’ll have them reminiscing long after the last scoop is gone.
FAQs and Troubleshooting
Q: Can I make this banana pudding ahead of time?
A: Absolutely! In fact, it tastes even better the next day as the flavors blend. Just be sure to cover it well to prevent any drying out.
Q: What if my pudding isn’t thickening?
A: If your pudding is runny, make sure you’ve cooked it long enough after adding the egg yolks. If it’s still not thickening, it may need a little more cornstarch. You can also try cooking it a bit longer on low heat.
Q: How do I prevent the bananas from browning?
A: A squeeze of lemon juice on the banana slices can help prevent browning. If you plan to serve it later, it’s best to layer the bananas just before serving.
Q: Can I freeze the banana pudding?
A: While you can freeze it, the texture may change once thawed—banana pudding is best enjoyed fresh after chilling!
Nutritional Information
For a typical serving of this delicious old-fashioned banana pudding (1/6 of the recipe), you can expect approximately:
- Calories: 290
- Protein: 4g
- Carbohydrates: 40g
- Total Fat: 12g
- Saturated Fat: 6g
- Sugar: 18g
Remember that the nutritional values may vary based on the specific brands of ingredients used.
So there you have it—a friendly guide to making an irresistible old-fashioned banana pudding! I hope this culinary adventure brings back some sweet memories and inspires you to create your own. Enjoy every bite, and remember—cooking is all about having fun and sharing love through food. Happy cooking!
PrintOld-Fashioned Homemade Banana Pudding
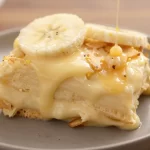
A delightful dessert that brings back warm childhood memories, featuring layers of ripe bananas, creamy pudding, and crunchy vanilla wafers.
- Prep Time: 20 minutes
- Cook Time: 15 minutes
- Total Time: 240 minutes
- Yield: 6 servings 1x
- Category: Dessert
- Method: Chilling
- Cuisine: American
- Diet: Vegetarian
Ingredients
- 3 ripe bananas
- 1 box vanilla wafers (about 12 oz)
- 2 cups whole milk
- 1/2 cup sugar
- 1/3 cup cornstarch
- 1/4 teaspoon salt
- 3 large egg yolks
- 1 teaspoon vanilla extract
- 1 tablespoon butter
Instructions
- Prepare your bananas by slicing them into even, 1/4-inch rounds.
- Make the pudding base by whisking together sugar, cornstarch, and salt in a medium saucepan over medium heat.
- Whisk in the milk gradually, stirring constantly until the mixture thickens and bubbles.
- Temper the egg yolks by whisking them in a separate bowl and slowly pouring in hot pudding mixture while whisking.
- Thicken the pudding by simmering on low heat for 2-3 minutes until it coats the back of a spoon.
- Add the butter and vanilla extract to the thickened pudding and stir until combined.
- Layer the pudding in a large glass bowl using vanilla wafers, banana slices, and creamy pudding, repeating until all ingredients are used.
- Chill the pudding in the refrigerator for at least 4 hours or overnight.
Notes
Garnish with crushed vanilla wafers or banana slices before serving. Consider adding whipped cream for extra indulgence.
Nutrition
- Serving Size: 1 serving
- Calories: 290
- Sugar: 18g
- Sodium: 150mg
- Fat: 12g
- Saturated Fat: 6g
- Unsaturated Fat: 4g
- Trans Fat: 0g
- Carbohydrates: 40g
- Fiber: 2g
- Protein: 4g
- Cholesterol: 150mg
Keywords: banana pudding, dessert, classic recipe, nostalgic dessert