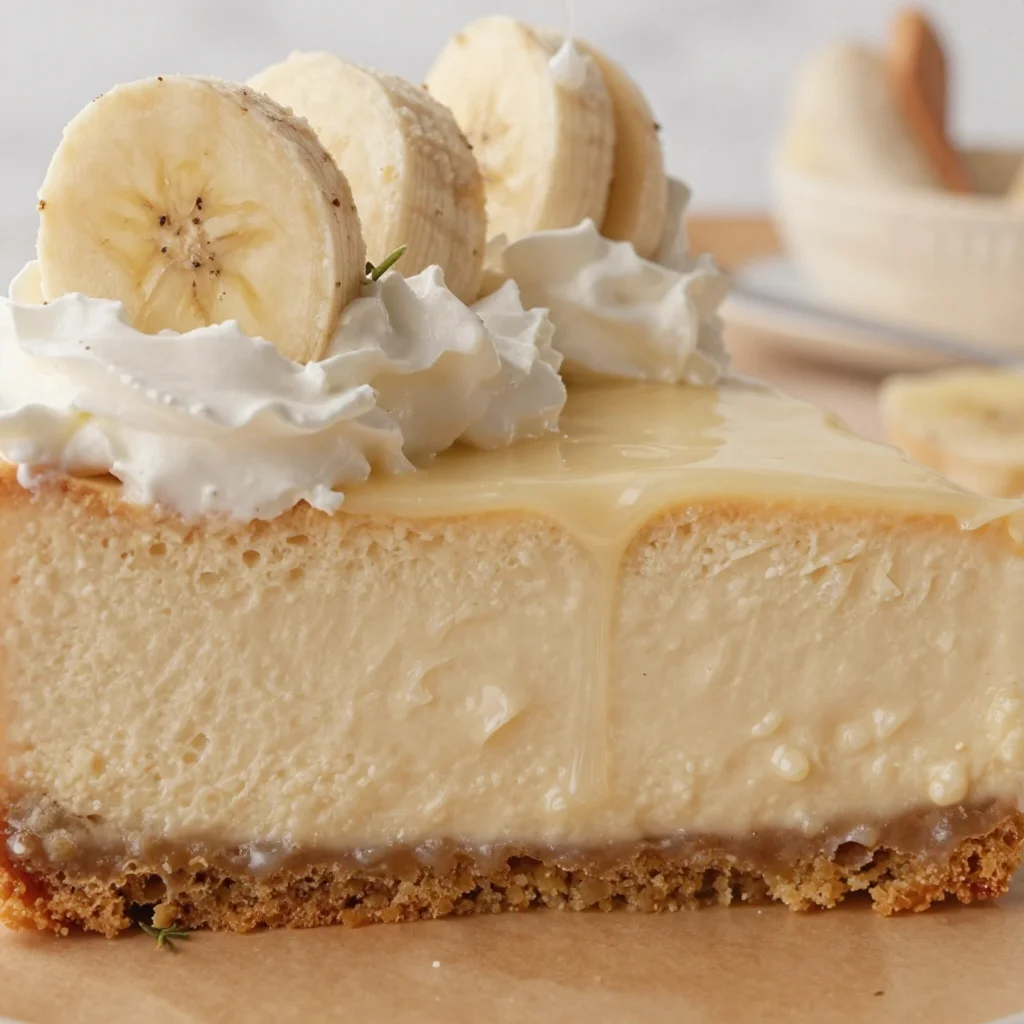
No-Bake Banana Pudding Cheesecake: Creamy Comfort in 1 Hour
Indulge in Crunchy Bliss: Banana Pudding Cheesecake Recipe
Hey there, food lovers! It’s Camille here, ready to dive into a decadent dessert that marries two of my all-time favorites: classic banana pudding and creamy cheesecake. If you’ve ever found yourself stuck between these two fantastic treats, you’re in for a real treat with this Banana Pudding Cheesecake. Trust me, it’s the best of both worlds!
But before we get straight to the baking, let me share a little story that inspired this sweet creation.
My Personal Story
Growing up, my family held a special place for dessert time. It wasn’t just about satisfying a sweet tooth; it was our time to connect, laugh, and sometimes, reminisce about the past. One of my sweetest memories is my grandma’s banana pudding. She would whip it up for every family gathering, and she always had a secret ingredient that made it extra special (but of course, she never shared!). I remember sneaking spoonfuls while the adults chatted, trying to steal bites before it was even served.
Fast forward to today, I’ve taken that nostalgia and transformed it into something even more indulgent: Banana Pudding Cheesecake! It captures all the creamy, fruity goodness of Grandma’s dessert but adds that rich, dreamy cheesecake layer we all crave. So grab your mixing bowls and let’s get started on this crunchy, creamy delight!
Ingredients
Here’s what you’ll need to whip up this luscious Banana Pudding Cheesecake:
-
1 package Nilla Wafers (about 60 wafers)
These golden cookies add a delightful crunch! Feel free to substitute with any vanilla wafer cookies or even homemade cookies for a unique spin. -
1/2 cup unsalted butter, melted
This is your binding agent for the crust. If you need a dairy-free option, coconut oil works beautifully here. -
2 packages (3.4 oz each) instant banana pudding mix
Instant pudding makes this dish super quick. You can swap it for vanilla pudding for a milder flavor. -
4 cups milk
Whole milk will give you the creamiest results, but you can use any milk or non-dairy milk alternative if you’re looking for a lighter option. -
8 oz cream cheese, softened
This is where the cheesecake magic happens! Any cream cheese will do, but if you’re looking for a lighter option, you can use reduced-fat cream cheese. -
1 cup powdered sugar
This sweetens up your cheesecake. You can substitute with honey or agave syrup, although the texture might vary. -
1 teaspoon vanilla extract
This adds depth to your cream cheese. If you want something different, almond extract gives a nutty twist. -
4 cups whipped topping
For that airy texture, use any brand of whipped topping, or you can whip your own fresh cream if you’re feeling fancy! -
Sliced bananas for garnish
Fresh bananas not only make it look stunning but also bring that lovely banana flavor!
Step-by-Step Instructions
Ready to create this masterpiece? Let’s break it down step-by-step!
Step 1: Prepare the Crust
- Preheat your oven to 350°F (175°C).
- In a mixing bowl, combine the Nilla Wafers and melted butter. Mix until all the crumbs are evenly coated.
- Press the crumb mixture firmly into the bottom of a 9-inch springform pan. You want it packed tight!
Chef’s Tip: If you’re having trouble pressing it down, use the flat bottom of a glass to help.
Step 2: Bake the Crust
4. Bake the crust in your preheated oven for about 10 minutes, then let it cool completely to set.
Step 3: Prepare the Filling
5. In a large bowl, whisk together the instant banana pudding mix and milk until well combined. Set it aside.
6. In another bowl, beat the softened cream cheese until smooth. Gradually add the powdered sugar and vanilla extract, mixing until creamy.
Chef’s Insight: Make sure your cream cheese is softened to prevent lumps in your cheesecake.
Step 4: Combine the Mixtures
7. Gently fold in the whipped topping into the cream cheese mixture until fully combined. Then, fold in the banana pudding mixture until smooth.
Little Chef Hack: Be gentle while folding to keep the mixture airy and light!
Step 5: Assemble the Cheesecake
8. Pour the cheesecake filling over the cooled crust and spread it evenly.
9. Chill the cheesecake in the refrigerator for at least 4 hours or overnight for best results.
Note: I know it’s hard to wait, but letting it chill helps all those flavors meld beautifully!
Step 6: Garnish and Serve
10. Once set, carefully remove the cheesecake from the springform pan. Top with sliced bananas or even additional Nilla Wafers for that extra crunch.
Serving Suggestions
When it comes to serving, presentation is key! Place the cheesecake on a beautiful platter or serving stand. For a fun touch, serve it alongside a drizzle of caramel or chocolate sauce. You can also add a dollop of whipped cream and a few more banana slices on each slice for that professional look!
Recipe Variations
-
Chocolate Drizzle: Drizzle some melted chocolate over the top for a rich flavor twist.
-
Peanut Butter Swirl: Mix in a swirl of peanut butter to the cheesecake layer for that heavenly peanut butter and banana combo.
-
Nutty Crust: Add chopped nuts (like pecans or walnuts) to the crust for an extra crunch.
-
Caramel Banana Cheesecake: Top the cheesecake with caramel sauce and banana slices for a caramelized indulgence.
-
Mini Cheesecakes: Make individual servings in muffin tins for bite-sized treats!
Chef’s Notes
This Banana Pudding Cheesecake has a special place in my heart. Over the years, I’ve been playing with layers and flavors, and I truly believe this recipe encapsulates my vision of combining textures and making desserts fun! Plus, it’s a hit at every gathering. I’ve added extra whipped toppings, tried alternate layers, and even made mini versions—there’s so much you can do!
I always recommend saving a slice (or two) for the next day. Believe me, it tastes even better when the flavors have had a chance to mingle overnight. Just keep it chilled!
FAQs and Troubleshooting
Q: Can I make this cheesecake ahead of time?
A: Absolutely! This cheesecake is perfect for making a day or two before you need it. Just keep it covered in the fridge.
Q: What can I do if my bananas brown?
A: To prevent browning, try tossing the banana slices with a little lemon juice before garnishing. Citric acid works wonders!
Q: How do I store leftovers?
A: Keep leftover cheesecake in the fridge for up to 5 days. You can also freeze it for up to 2 months, just wrap it well!
Q: Can I use fresh bananas in the filling?
A: While fresh bananas add great flavor, they can make the filling watery. Stick with the pudding mix for that perfect texture, and reserve fresh ones for garnish.
Nutritional Info (Optional)
This cheesecake brings a delightful balance of indulgence and sweetness to your table! While I won’t dive too deep into the nutritional nitty-gritty today, it’s good to remember that moderation is key when enjoying desserts. With that said, feel free to share it with family and friends. It’s best enjoyed in good company!
And there you have it—a dreamy Banana Pudding Cheesecake that brings fun and flavor to your table! Remember, the kitchen is all about experimenting, so feel free to make this recipe your own.
Happy baking, and let’s keep the crunchy vibes alive!
— Camille 🥗✨
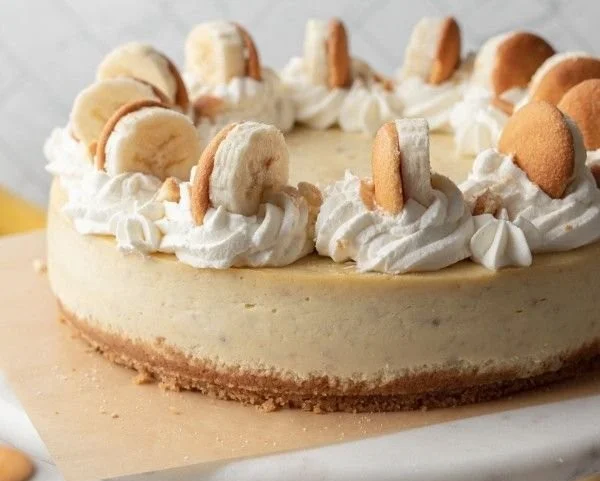
Banana Pudding Cheesecake
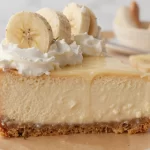
A decadent dessert that combines classic banana pudding with creamy cheesecake for an indulgent treat.
- Prep Time: 20 minutes
- Cook Time: 10 minutes
- Total Time: 240 minutes
- Yield: 12 servings 1x
- Category: Dessert
- Method: Baking
- Cuisine: American
- Diet: Vegetarian
Ingredients
- 1 package Nilla Wafers (about 60 wafers)
- 1/2 cup unsalted butter, melted
- 2 packages (3.4 oz each) instant banana pudding mix
- 4 cups milk
- 8 oz cream cheese, softened
- 1 cup powdered sugar
- 1 teaspoon vanilla extract
- 4 cups whipped topping
- Sliced bananas for garnish
Instructions
- Preheat your oven to 350°F (175°C).
- Combine the Nilla Wafers and melted butter in a mixing bowl. Mix until the crumbs are evenly coated.
- Press the crumb mixture into the bottom of a 9-inch springform pan.
- Bake the crust for about 10 minutes, then let it cool completely.
- Whisk together the instant banana pudding mix and milk in a large bowl. Set aside.
- Beat the softened cream cheese until smooth. Gradually add the powdered sugar and vanilla extract, mixing until creamy.
- Fold the whipped topping into the cream cheese mixture until fully combined.
- Fold in the banana pudding mixture until smooth.
- Pour the cheesecake filling over the cooled crust and spread it evenly.
- Chill the cheesecake in the refrigerator for at least 4 hours or overnight.
- Remove the cheesecake from the springform pan. Top with sliced bananas or additional Nilla Wafers.
Notes
Letting the cheesecake chill helps all the flavors meld beautifully. Save a slice for the next day for even better flavor!
Nutrition
- Serving Size: 1 slice
- Calories: 350
- Sugar: 20g
- Sodium: 250mg
- Fat: 15g
- Saturated Fat: 8g
- Unsaturated Fat: 5g
- Trans Fat: 0g
- Carbohydrates: 45g
- Fiber: 1g
- Protein: 6g
- Cholesterol: 30mg
Keywords: banana pudding, cheesecake, dessert, creamy, indulgent