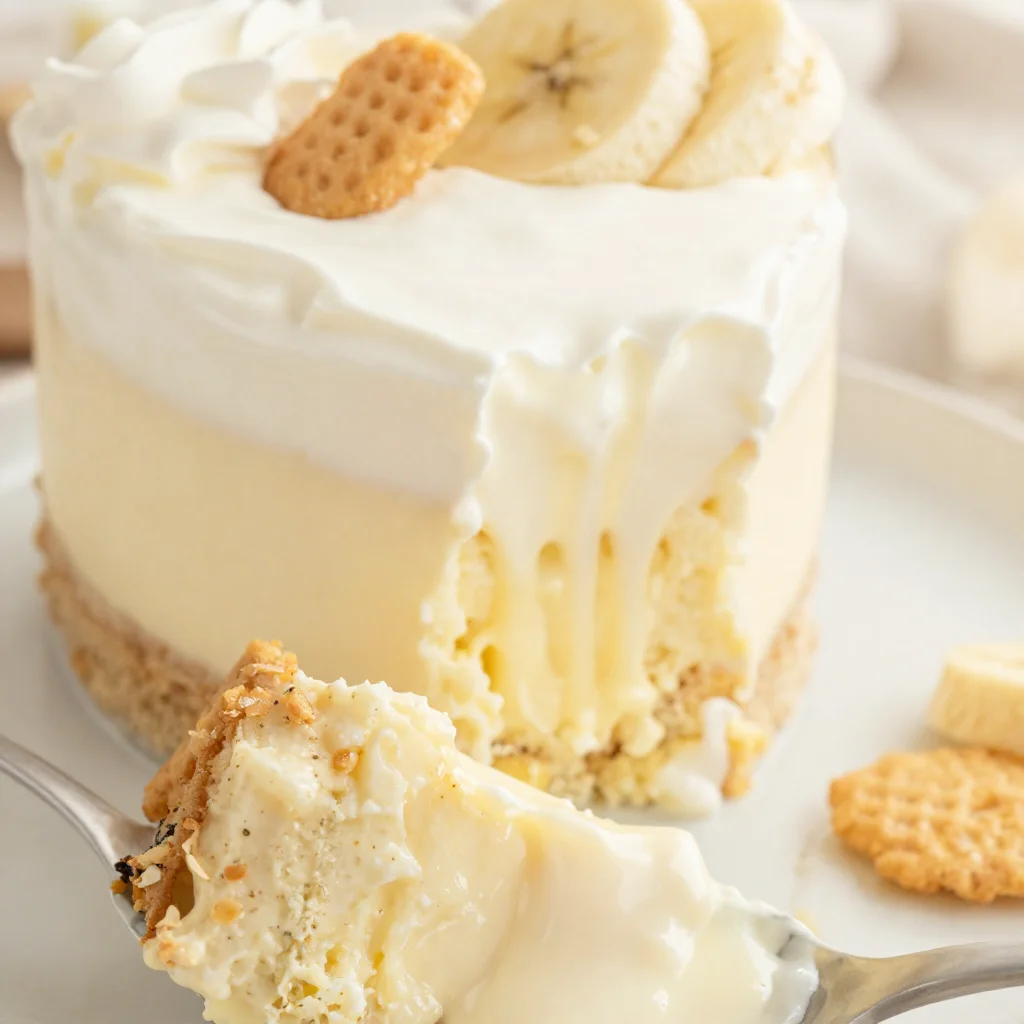
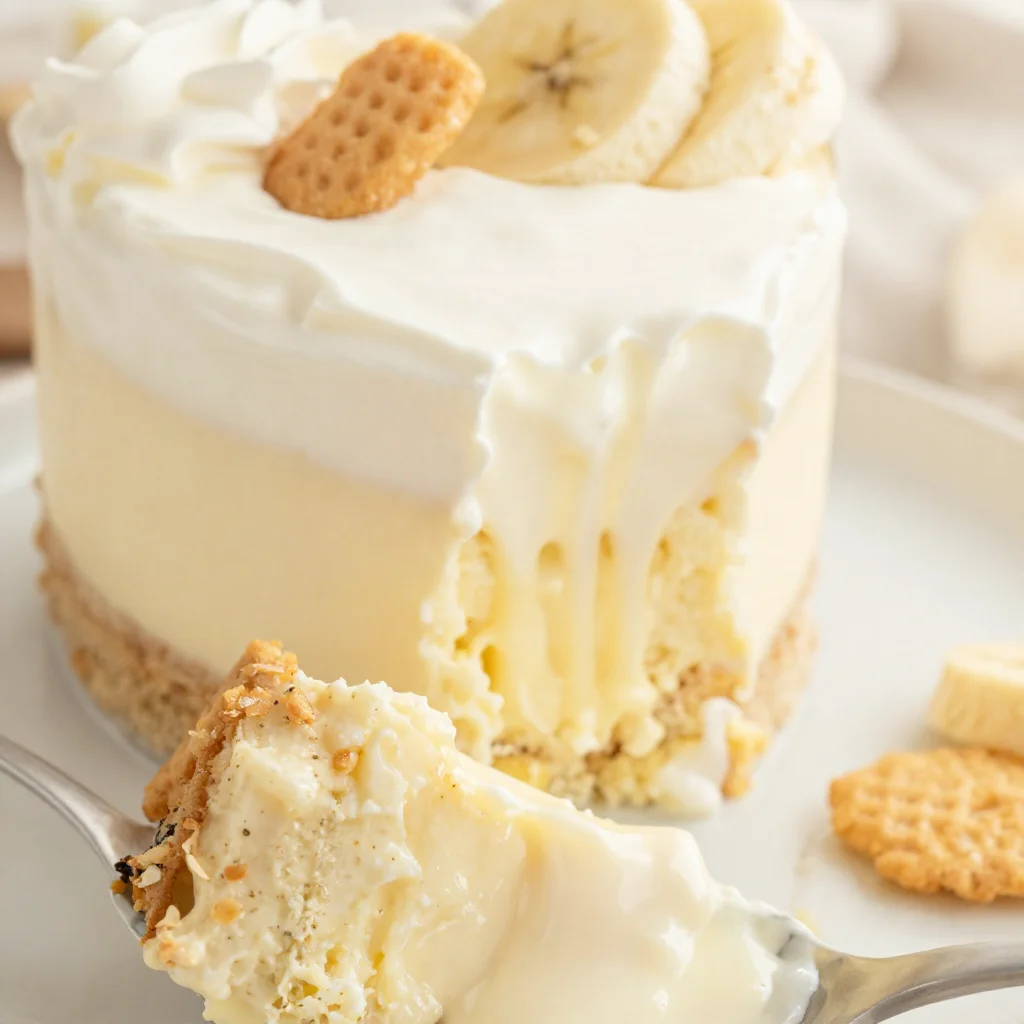
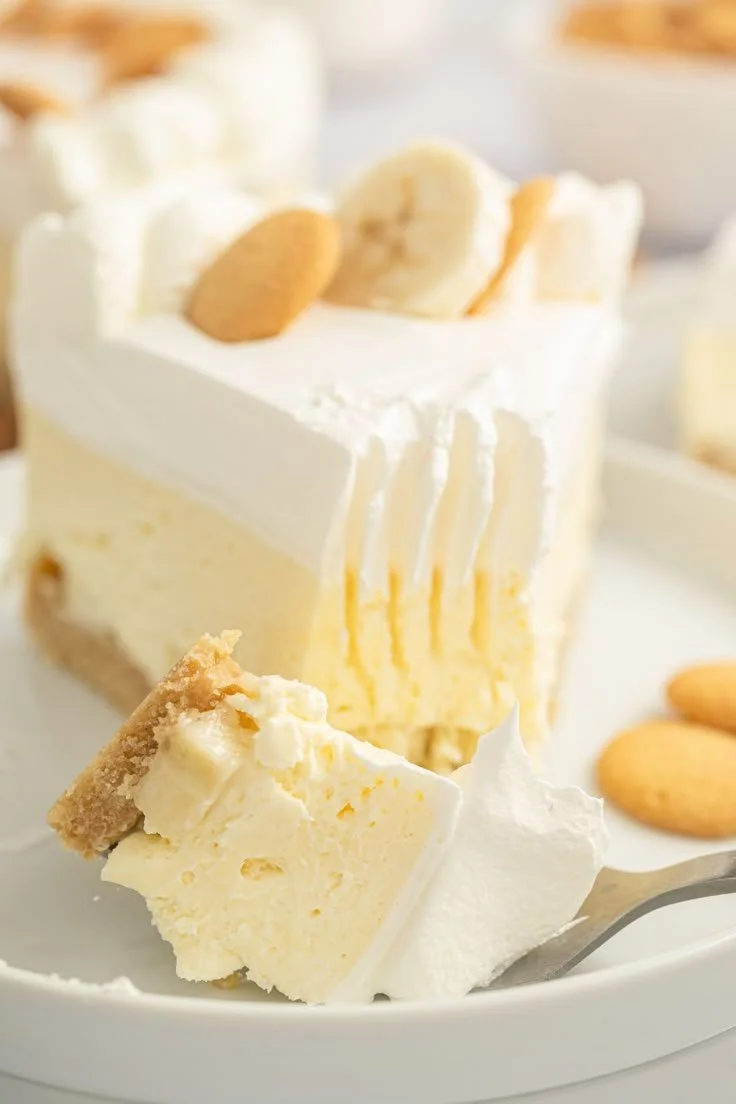
Creamy 5-Ingredient No-Bake Banana Pudding Cheesecake
No Bake Banana Pudding Cheesecake: A Slice of Nostalgia
Hey there, fellow food lovers! 🌟 Today, we’re diving into something that will make your taste buds dance with joy and your heart swell with nostalgia: No Bake Banana Pudding Cheesecake. This delightful dessert has always held a special place in my heart, and I can’t wait to share it with you!
A Trip Down Memory Lane
Growing up, I spent countless weekends at my grandma’s house, where the kitchen was always filled with the sweetest aromas and laughter. One of my fondest memories is her making banana pudding. The way the creamy custard intermixed with the softened vanilla wafers was always a treat! As we dug into bowls of this indulgent delight, I remember the excitement in my chest, looking forward to grandma’s secret ingredient—love, of course!
Fast forward to today, and I’ve recreated that classic dish into a cheesecake that’s just as heartwarming and a tad easier to make. This no-bake version reflects everything I love about the original but adds my own crunchy twist!
Now, let’s roll up our sleeves and create this creamy paradise.
Ingredients
Here’s what you’ll need to whip up this dreamy No Bake Banana Pudding Cheesecake:
-
2 cups of crushed vanilla wafers
These sweet, crunchy cookies give a nod to classic banana pudding. If you’re feeling adventurous, you can substitute them with graham crackers for a different flavor profile. -
1/2 cup of unsalted butter, melted
This brings everything together! If you’re looking for a lighter option, feel free to use coconut oil instead for a hint of tropical flavor. -
1 cup of powdered sugar
This sweetness is what makes our cheesecake creamy and delightful. If you prefer less sweetness, reduce it by half and taste as you go! -
8 oz of cream cheese, softened
The rich, creamy base for our cheesecake. Don’t skimp on softness; it should be at room temperature to avoid clumps. For a vegan option, you can use plant-based cream cheese. -
2 cups of whipped cream
This adds that fluffy texture we all love! You can go for store-bought or whip your own using heavy cream. -
2 cups of banana pudding mix
This is what gives our cheesecake that classic banana flavor! If you can’t find banana pudding mix, instant vanilla works fine, too! Just add a ripe mashed banana for flavor. -
2 1/2 cups of milk
Whole milk works best for a luscious texture, but you can swap in almond or oat milk for a dairy-free version! -
3 ripe bananas, sliced
Fresh bananas add natural sweetness and a chewy texture. If you have a banana allergy, you can use pureed applesauce instead. -
Extra whipped cream and vanilla wafers for topping
Because who doesn’t love a little extra indulgence on top?
Step-by-Step Instructions
Ready to get mixing? Let’s do this!
-
Prepare the Crust
In a bowl, combine your crushed vanilla wafers and melted butter. Mix until all the crumbs are well coated. This is where the magic begins! When it looks like wet sand, it’s perfect.Chef Tip: Using your hands is totally acceptable here; the warmth from your fingers helps the butter blend in nicely!
-
Press the Crust
Grab a 9-inch springform pan and firmly press the crust mixture into the bottom. Make it as even as possible; this ensures every slice is heavenly.Fun fact: If you want an extra crunchy crust, you can bake it at 350°F (175°C) for 8–10 minutes. Just let it cool before adding the filling!
-
Make the Cream Cheese Mixture
In a large mixing bowl, beat the softened cream cheese until smooth. Gradually add in the powdered sugar; mix until combined.Chef Insight: If you find lumps in your mix, no worries! Just keep mixing, and they’ll eventually smooth out.
-
Incorporate the Whipped Cream
Gently fold in the whipped cream, ensuring you maintain that fluffy texture. This is where we add decadence!Pro Tip: Use a spatula and fold slowly—this helps keep our cheesecake light and airy.
-
Combine with Pudding and Milk
In another bowl, whisk together the banana pudding mix and milk. Let it sit for a minute until it thickens, then fold this mixture into our cream cheese blend until everything is combined!Quick Chef Hack: For an extra rich flavor, try using vanilla bean pudding mix!
-
Layer it Up
Slice up those ripe bananas and layer them over the crust. Pour the creamy cheesecake mixture on top and spread evenly.Serving Suggestion: With a spatula, make sure to tap the pan lightly on the counter to remove air bubbles. Every bit counts in this creamy dream!
-
Chill Out
Cover with plastic wrap (or those adorable bee wraps) and refrigerate for at least 4 hours. Overnight chilling is best; it allows all those flavors to mingle! -
Topping Time
Before serving, top with extra whipped cream and sprinkle crushed vanilla wafers for that perfect crunch!Pro Tip: If you want to keep those bananas from browning, add a splash of lemon juice over them before layering.
Recipe Variations
Now for the fun part—a few creative twists you can add to make this dessert your own!
-
Chocolate Love
Add chocolate pudding mix instead of banana, and layer with chocolate chips for a chocolate lover’s dream. -
Nutty Bananas
For an added crunch, sprinkle chopped nuts like walnuts or pecans into the crust or as a topping! -
Berry Bliss
Swap out bananas for strawberries or blueberries for a fruity twist. Create a berry ripple by swirling some puree into the cream cheese filling before chilling. -
Caramel Drizzle
Drizzle caramel sauce over the top before serving for an extra kick of sweetness! -
Coconut Crunch
Mix shredded coconut into the crust or topping for a tropical vibe!
Chef’s Notes
This recipe has evolved with me over time. Initially, the crust was a classic graham cracker crust, but I quickly learned that the vanilla wafers gave it that nostalgic kick that reminded me of grandma’s kitchen. Remember that food is all about experimenting—don’t hesitate to make it your own!
I still chuckle when recalling the time I forgot to add the sugar, thinking I was making a healthy version. My friends’ faces were a mix of confusion and sympathy! But hey, that’s how we learn, right?
FAQs and Troubleshooting
Q: Can I freeze this cheesecake?
Absolutely! Just wrap it tightly in plastic wrap, and it will freeze beautifully for up to 2 months. Thaw it in the fridge before serving.
Q: My cheesecake isn’t setting properly. What did I do wrong?
Ensure your cream cheese is fully softened and that you mixed the pudding and milk properly. If it’s too warm when layering in the crust, it can cause a runny consistency!
Q: How do I keep the bananas from browning?
A splash of lemon juice does wonders! Or, you can layer them last minute just before serving.
Q: Can I use a different flavor of pudding mix?
Definitely! Vanilla, chocolate, or even strawberry pudding can work as fabulous substitutes!
Nutritional Info (Optional)
While I believe in enjoying dessert in moderation, here’s a quick glance at the nutritional content if you’re interested (per slice, makes 12 servings):
- Calories: 280
- Protein: 3g
- Carbs: 35g
- Fat: 14g
- Sugar: 18g
Final Thoughts
There you have it, pals! A nostalgic spin on a classic dessert that’s as easy as can be. I hope your kitchen fills with laughter and joyful memories as you create this delightful No Bake Banana Pudding Cheesecake. Whether you’re having a family gathering, celebrating a birthday, or just want to treat yourself (because you deserve it!), this recipe is sure to impress.
Remember, cooking should be fun, full of creative twists, and a little bit messy! Let’s embrace the crunch, the flavor, and the love that goes into every bite.
Happy baking (or no-baking😉)! Until next time, let’s get crunchy!
— Camille 🥬🥑✨
PrintNo Bake Banana Pudding Cheesecake
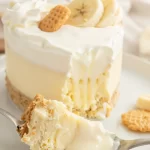
A creamy, nostalgic dessert that combines the classic flavors of banana pudding and cheesecake without the need for baking.
- Prep Time: 30 minutes
- Cook Time: 0 minutes
- Total Time: 240 minutes
- Yield: 12 servings 1x
- Category: Dessert
- Method: No-Bake
- Cuisine: American
- Diet: Vegetarian
Ingredients
- 2 cups crushed vanilla wafers
- 1/2 cup unsalted butter, melted
- 1 cup powdered sugar
- 8 oz cream cheese, softened
- 2 cups whipped cream
- 2 cups banana pudding mix
- 2 1/2 cups milk
- 3 ripe bananas, sliced
- Extra whipped cream and vanilla wafers for topping
Instructions
- Prepare the crust: In a bowl, combine your crushed vanilla wafers and melted butter. Mix until all the crumbs are well coated.
- Press the crust: Firmly press the crust mixture into the bottom of a 9-inch springform pan.
- Make the cream cheese mixture: In a large mixing bowl, beat the softened cream cheese until smooth. Gradually add in the powdered sugar; mix until combined.
- Incorporate the whipped cream: Gently fold in the whipped cream, ensuring you maintain that fluffy texture.
- Combine with pudding and milk: In another bowl, whisk together the banana pudding mix and milk. Let it sit for a minute until it thickens, then fold this mixture into the cream cheese blend.
- Layer it up: Layer sliced ripe bananas over the crust, then pour the cheesecake mixture on top and spread evenly.
- Chill out: Cover with plastic wrap and refrigerate for at least 240 minutes (4 hours), overnight is best.
- Topping time: Before serving, top with extra whipped cream and sprinkle crushed vanilla wafers for that perfect crunch.
Notes
For variations, consider adding chocolate pudding mix or nuts for extra flavor and crunch.
Nutrition
- Serving Size: 1 slice
- Calories: 280
- Sugar: 18g
- Sodium: 250mg
- Fat: 14g
- Saturated Fat: 8g
- Unsaturated Fat: 6g
- Trans Fat: 0g
- Carbohydrates: 35g
- Fiber: 1g
- Protein: 3g
- Cholesterol: 30mg
Keywords: no bake cheesecake, banana pudding, dessert, easy dessert, creamy cheesecake